The AeroPress
It’s a press…it’s a dripper…no, it’s the AeroPress! The AeroPress Coffee Maker is a popular choice for brewing coffee. It’s a type of immersion brewer that’s similar to a press, but it has a paper filter that removes coffee grit, unlike other styles. It’s an affordable, compact and lightweight brewer that’s incredibly easy to use.
If you’re like us and have one (or even two) of these in your kitchen, you’ve probably gotten a brewing routine down, but it’s never too late to learn some new tricks! We’ve got four new tips for you to start using on your AeroPress today—so what are you waiting for? Let’s get brewing.
[caption id="attachment_12770" align="alignnone" width="474"] The AeroPress is one of the most versatile pieces of brewing equipment we use![/caption]AeroPress Tip #1: Wet Your Filter
We recommend you don’t skip this one! Rinsing your paper filter helps reduces the papery or woody flavor taste.The best way to get it wet is to put the dry filter into the AeroPress’ black filter basket and place it over a cup, which also pre-heats your cup—win, win! Don’t worry about if the filter cools down before you brew because you’ll be pouring some hot water through it soon.
AeroPress Tip #2: Level Out Your Grounds
Your filter’s rinsed and ready to go—now it’s time for coffee! Grind 15 grams of coffee at about a drip coffee grind or a Chemex, but not too fine like for a espresso. Got it? Perfect, now let’s use that handy little funnel and add your grounds into the AeroPress.
Now for the tip: Level out your grounds by giving it a quick shake back and forth (don’t stress it too much). The more even the grounds bed is the more even your extraction will be and the more even an extraction means a tastier cup of coffee!
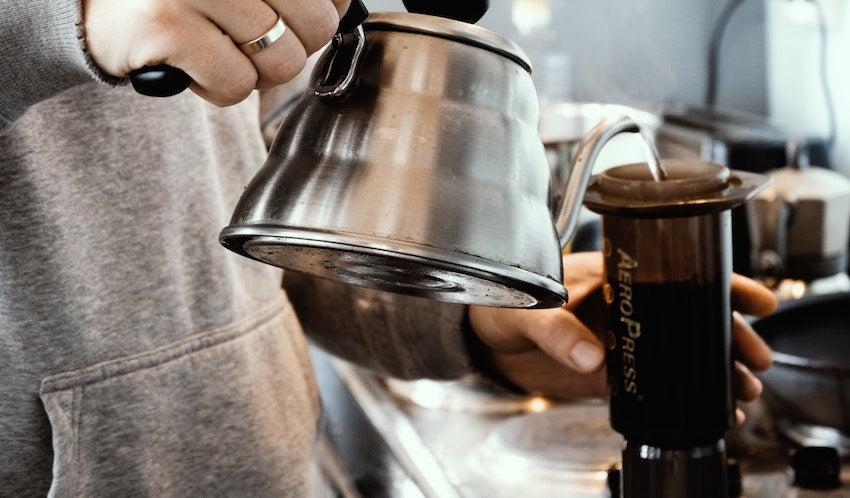
When you add your hot water, you want to evenly wet grounds by pouring in a circular motion. Since an AeroPress uses immersion brewing and pressure, we’re not worried about letting the coffee bloom. Go ahead and add all your water to the AeroPress and stir gently to ensure all your grounds are equally wet.
AeroPress Tip #3: Use Back Pressure To Stop The Drip
You’ll notice once you add the hot water, the AeroPress will start dripping—but this isn’t drip coffee! To stop the drip, insert the plunger piece into the body and…ta-da! Using back pressure is one of those wonderful tricks the scientist in us loves. It stops the flow of water and allows the coffee grounds to extract that wonderful flavor until we’re ready to plunge.
We’ve also brewed the AeroPress in the inverted style, which is when the plunger is already attached. Using this method, you add your 15-grams of coffee and hot water through the opposite end or where the filter basket is placed. After you've let it steep, you twist on the filter basket (don't forget the paper filter) and carefully flip the AeroPress onto your cup. Plunge as usual! Since it's us, when we flip it we tend to make a mess. If you haven’t used the back pressure method, we totally recommend it when you’re brewing with the AeroPress!
[caption id="attachment_13130" align="alignnone" width="474"] The inverted method is a popular brew technique on the AeroPress.[/caption]AeroPress Tip #4: Fast, Forceful Press = More Body and Slow, Even Press = Less Body, Cleaner Cup
You can think about this tip in terms of espresso, but, let's be real, you won't be able to create enough pressure for actual espresso. Espresso is extracted under pressure in a relatively quick time, typically, between 20 to 30 seconds, to produce a full-bodied shot. The idea applies to how AeroPress uses air pressure to extract flavor, but with human pressure. Another way to get more body is how far you plunge. If you push far enough to hear the air escape (that hissing sound) you're no longer pushing coffee water, but the slurry of dissolved coffee that's been extracted.
As they say, slow and steady wins the race. There’s no right or wrong way to press the AeroPress, but there’s something to love about the slow method. The slower plunge allows the nuanced flavors, such as berries and fruits, to come forward and creates a cleaner bodied cup. We did about a 30-second slow plunge and stopped pushing after we heard the air release. This gave us a crisp, clean cup that we were looking for.
Tell us what you think! Do you have any tips or tricks you like to do with the AeroPress? Share your ideas in the comments below.